*Blog update for my Image Creation module.

- Welcome back readers! So my last post focused on creating a header which is featured above but today I am going to teach you step by step how you can be more adventurous with your designs by animating them. It is quite a confusing concept when you initially try it out for the first time so starting with something simple is the easiest way to go. Firstly, you want to take whatever design/image you have chosen to be your header and open it up in Adobe Photoshop.
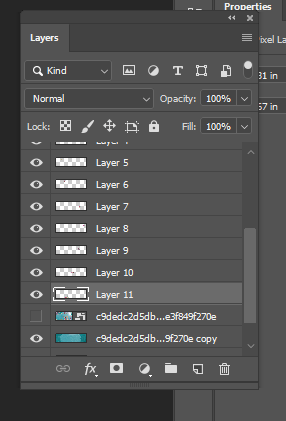
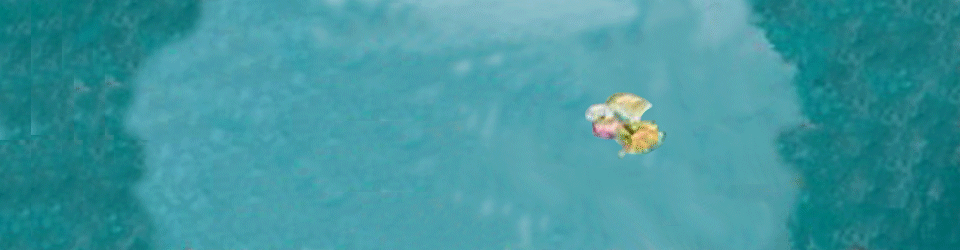
To start with you want to be ready to put your image into layers as this is important for when it comes to animating later on , I created my layers by deciding that what I wanted was to use the background of my header and focus on having the petals appear in the water and then have the writing appear later on.
- Firstly, I turned off the visibility of the writing so then on screen it was only the background image present to work with. If you look at the image above you will notice a small icon in the shape of an eye next to each layer , the eye symbol means that it is visible so if you click on it it will turn off the visibility which is the first step that I took.
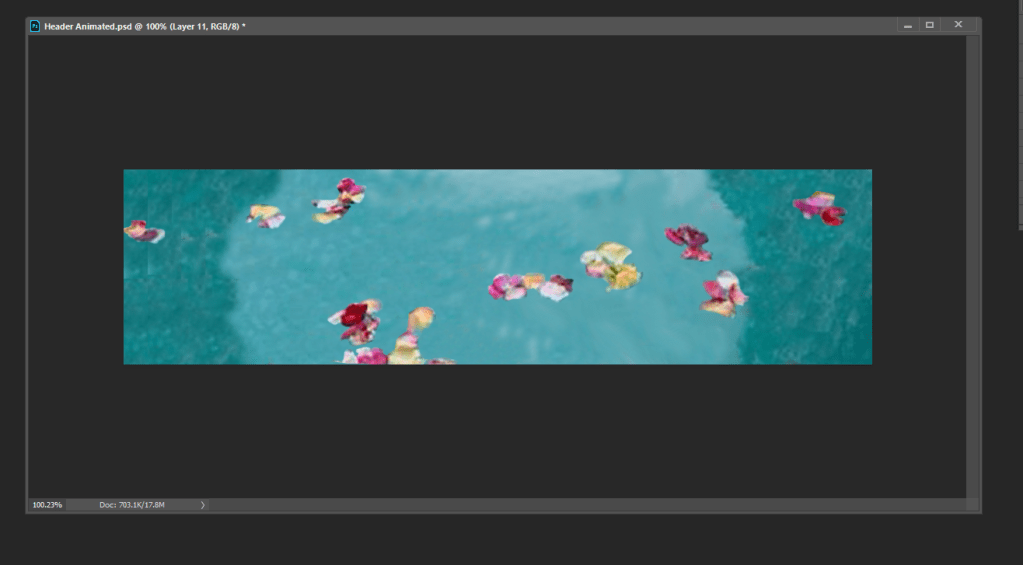
- Secondly, as you can see I have fewer petals visible in the image above. That is because for this step I used the magic wand tool to trace around petals in the original image and then copy and pasted them. This puts the petals into separate layers which is ultimately what you want.
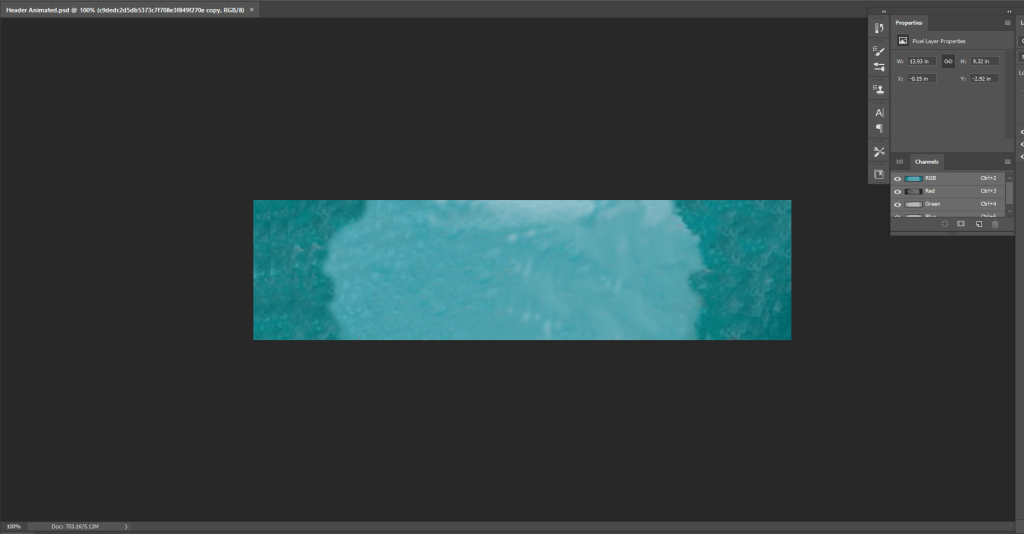
- Additionally, another important step to take is making the background a plain layer in itself. Notice how all of the petals have been removed in the image , to do this you select the stamp tool and hold down the alt key then using the mouse you gently click down the left button and slowly colour over the sections of the image that you want to remove (in this case the petals) and it is replaced by the colour that you originally clicked on.
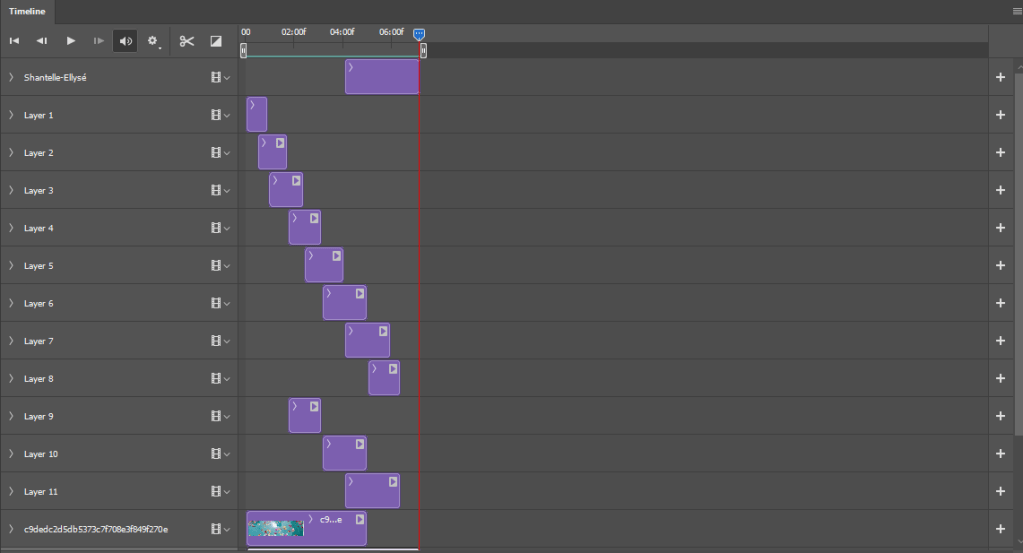
- The final step to bring your animation together is to put it into a timeline , to do this click on ‘window’ which will be along the bar at the top of your screen and then select the timeline option. This will then bring up all of your layers as you can see in the image above.
- Once you have got the timeline set up it is up to you to change the sequence of events to go however you want it to, so for me I wanted the petals to appear and then disappear simultaneously which is why I adjusted the duration of each frame to go in a canon-logical order.
- After putting the timeline in the order that you want it to be in all that is left to do is click the play button and watch your animation back to see if you like it and if you don’t then you know how you can change it!
Now you have your animation finished so if you want to use it for anything online like your own WordPress blog then all you have to do is export the file and click the save to web option and make sure the setting has it in the format of a GIF. If you are using it as a header on WordPress like I am then what you need to do when you click on uploading is make sure that you skip the cropping option because if you click crop then it will break the animation and we don’t want that to happen!
